Professional Residential & Commercial Painting Process for Beautiful, Long-Lasting Results
STEP 1: Comprehensive Property Inspection
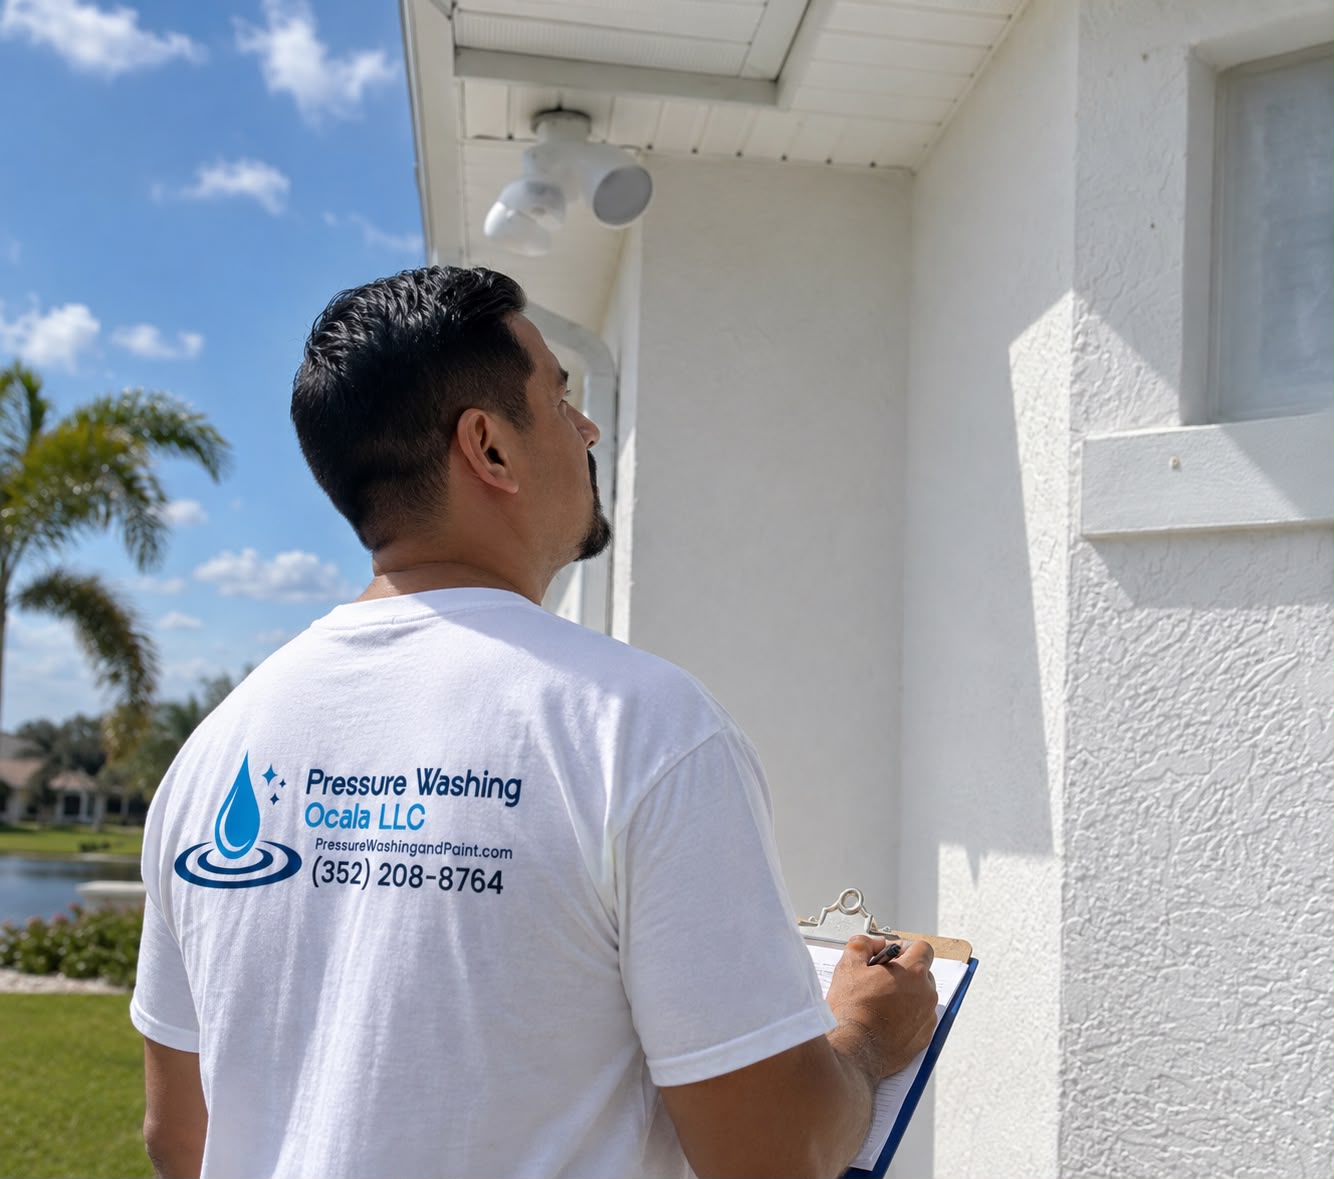
Every Residential & Commercial Painting project begins with a detailed inspection of the property. Our team evaluates the condition of exterior surfaces, including stucco, siding, wood, trim, and masonry, while identifying peeling paint, cracks, moisture concerns, surface damage, and areas requiring attention before painting.
STEP 2: Trenching
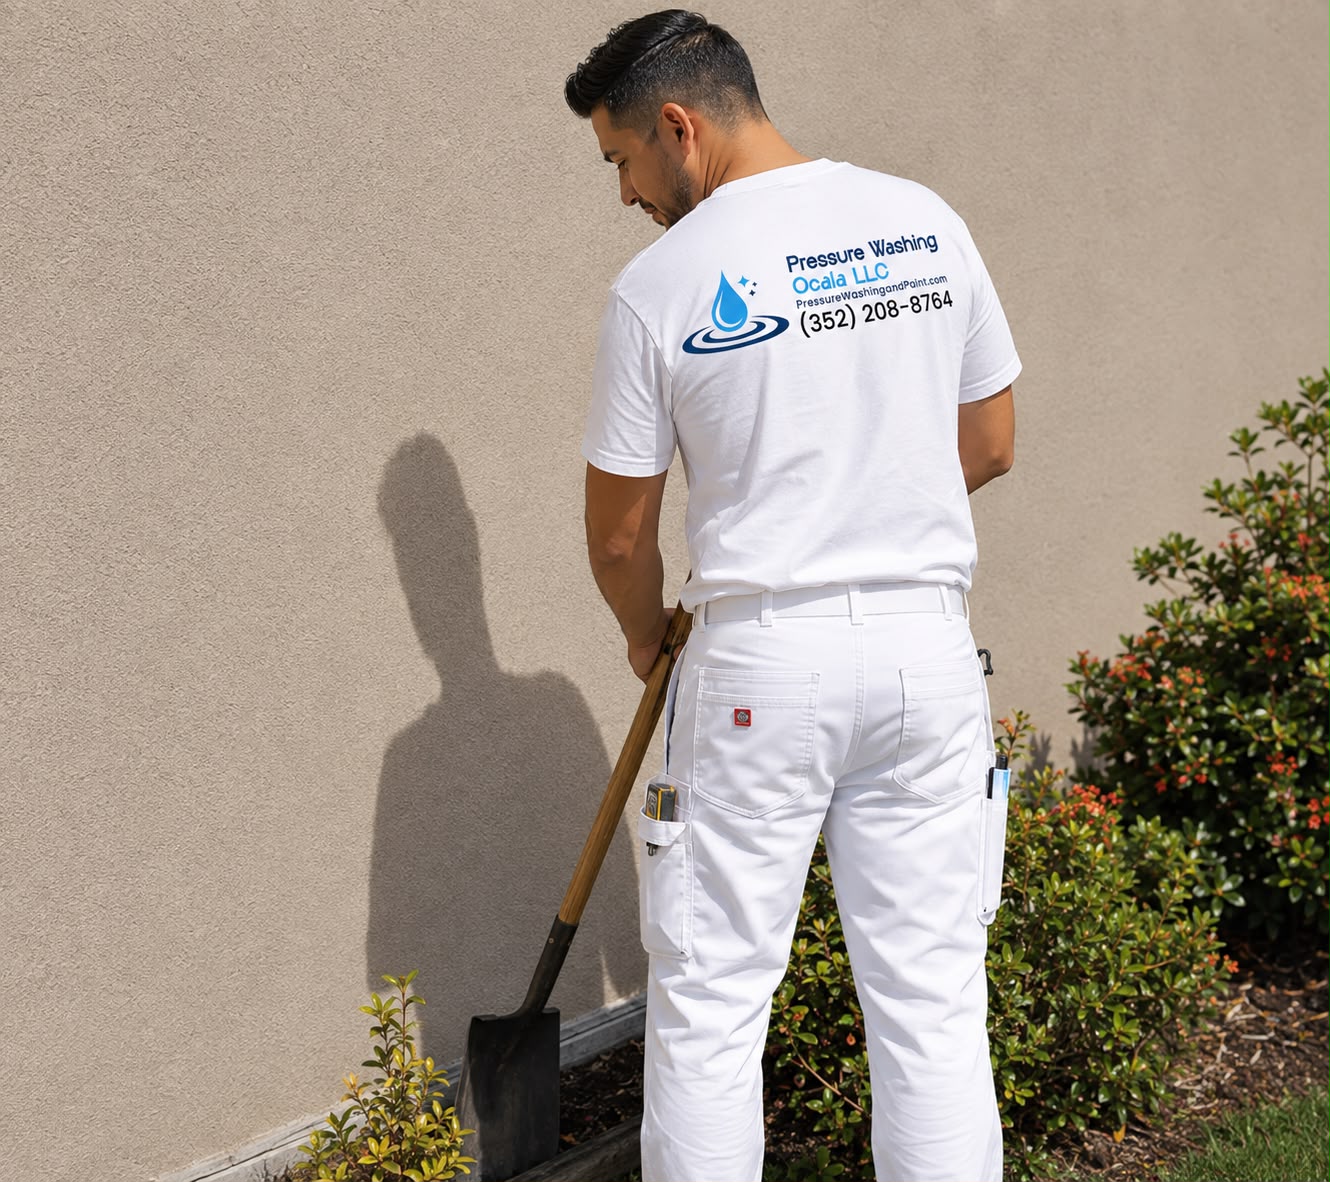
For exterior painting and coating projects that require below-grade protection, a perimeter trench may be prepared around the property. This allows the lower portion of the exterior to be properly accessed and treated, helping reduce moisture-related concerns near the foundation and creating a better base for the coating system.
STEP 3: Professional Pressure Washing
Thorough surface cleaning removes dirt, mildew, loose paint, dust, and other buildup that can interfere with proper paint adhesion. Our professional pressure washing process helps reveal hidden surface imperfections while creating a clean, prepared surface ready for the next stage of the Residential & Commercial Painting process.
STEP 4: Repair & Patch
Before applying primer or paint, damaged areas are carefully repaired to create a smooth and consistent surface. Cracks, holes, deteriorated sections, gaps around windows and doors, and other areas that may allow moisture penetration are properly patched, sealed, or caulked as needed.
STEP 5: Mask & Shield
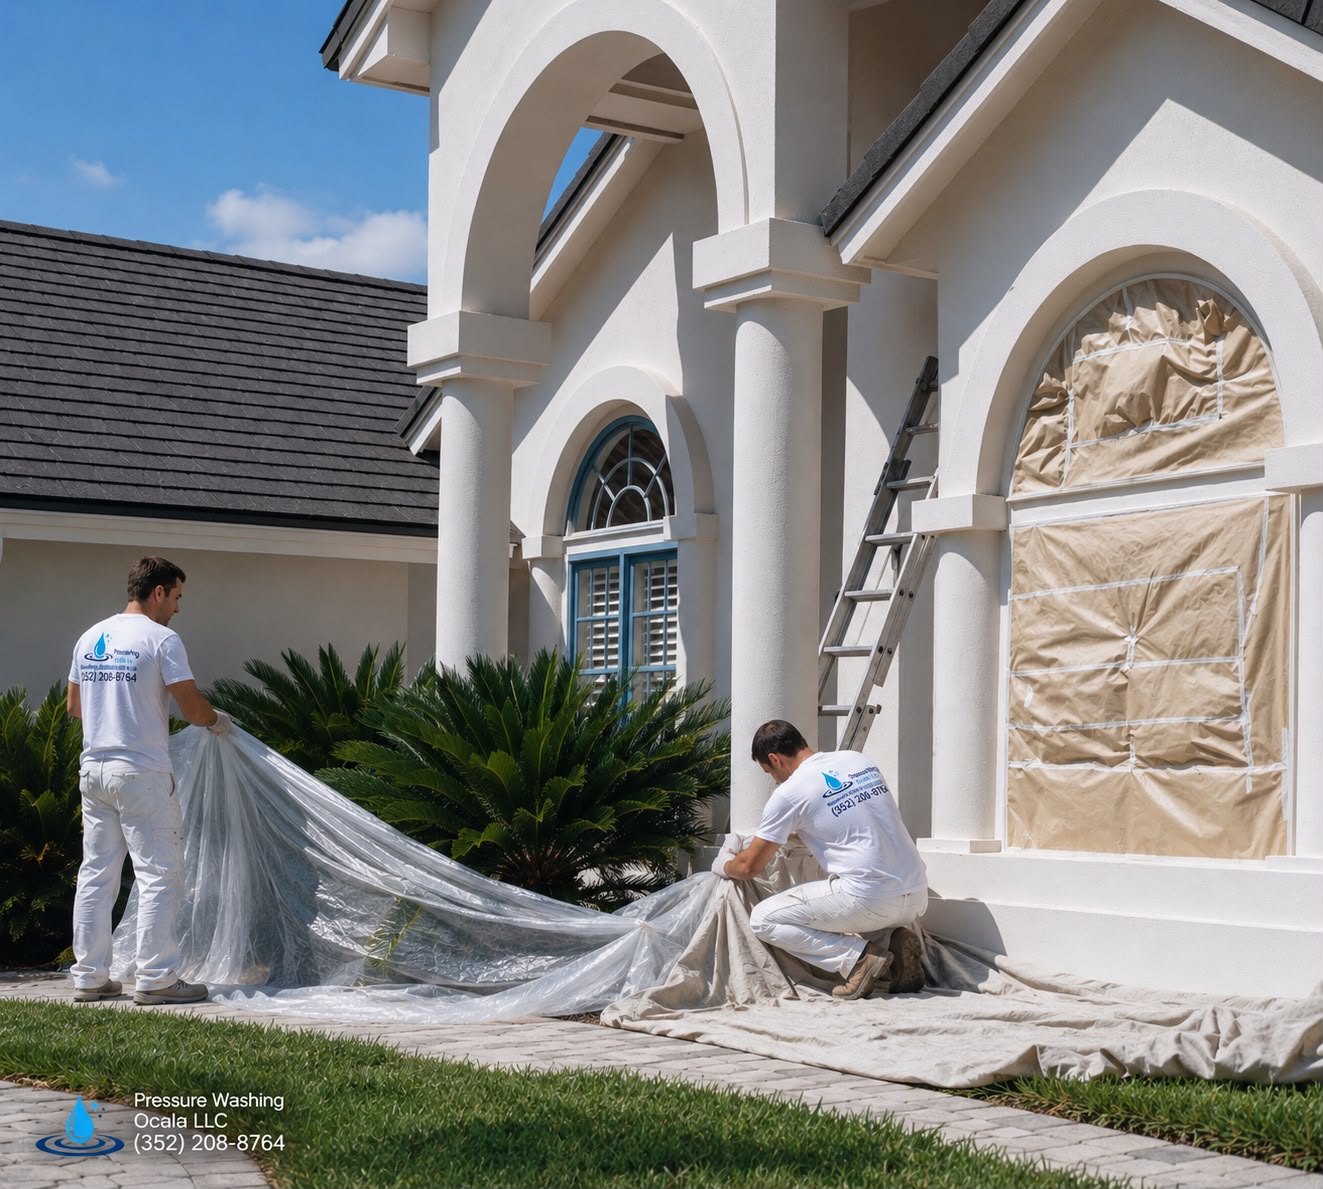
Protecting the areas that are not being painted is an important part of achieving clean, professional results. Windows, doors, landscaping, fixtures, trim, walkways, and other surrounding surfaces are carefully covered and shielded to help prevent unwanted paint or coating from reaching them.
STEP 6: Application of Special Primer
A quality primer creates an important foundation between the prepared surface and the finish coating. Our team applies the appropriate primer to help improve adhesion, provide more consistent coverage, and add an additional layer of protection to surfaces such as stucco, masonry, wood, and other exterior materials.
STEP 7: Detailed Inspection
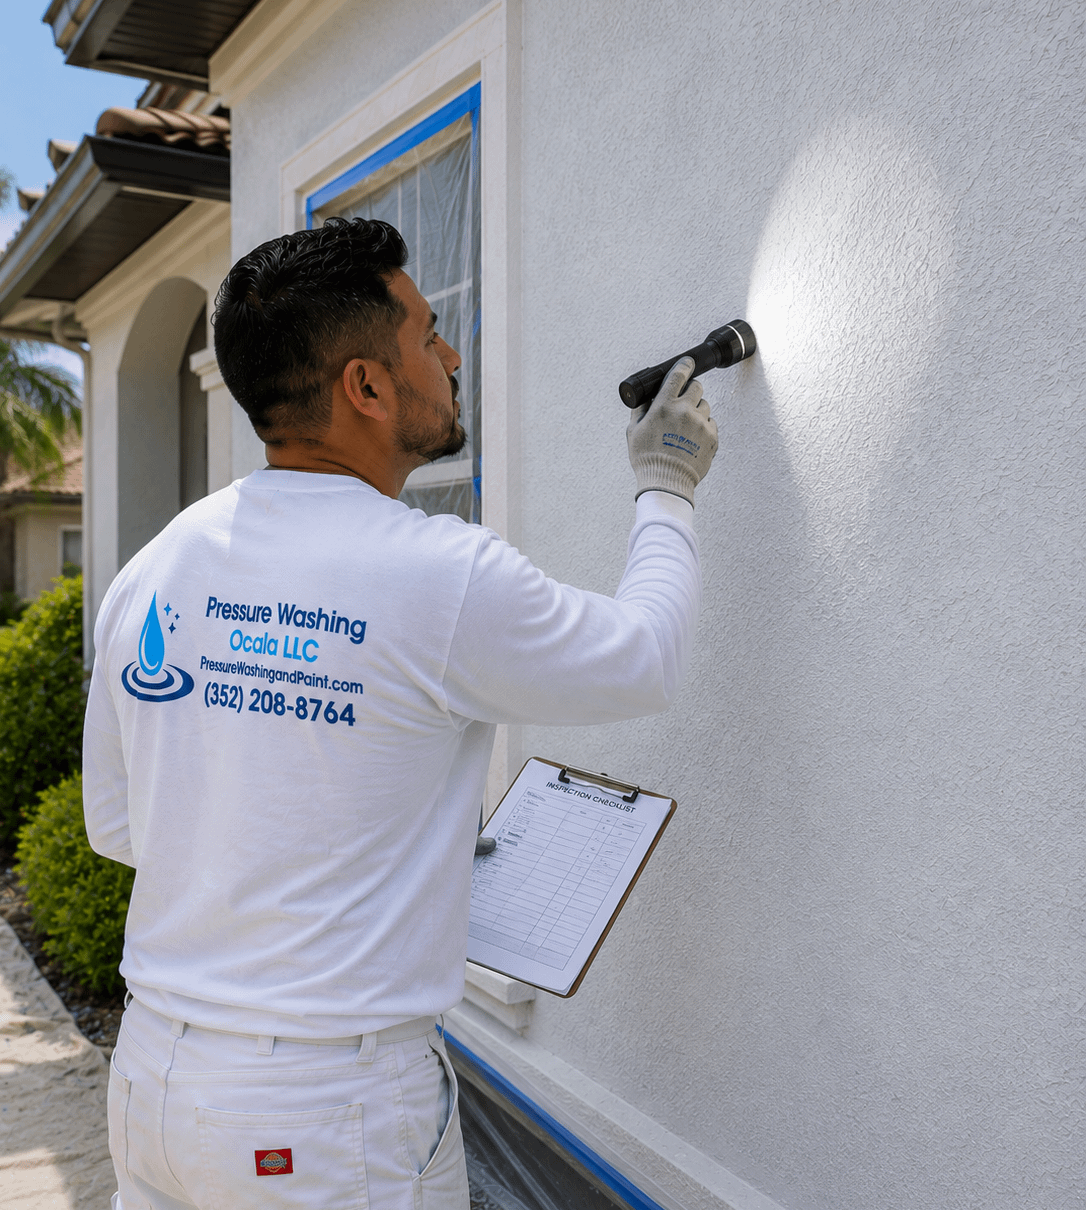
After the primer has been applied, the surface is carefully reviewed before the final coating begins. We check for consistent coverage, missed areas, surface imperfections, and any spots that may require additional preparation to help ensure the property is ready for the finish application.
STEP 8: Finish Application
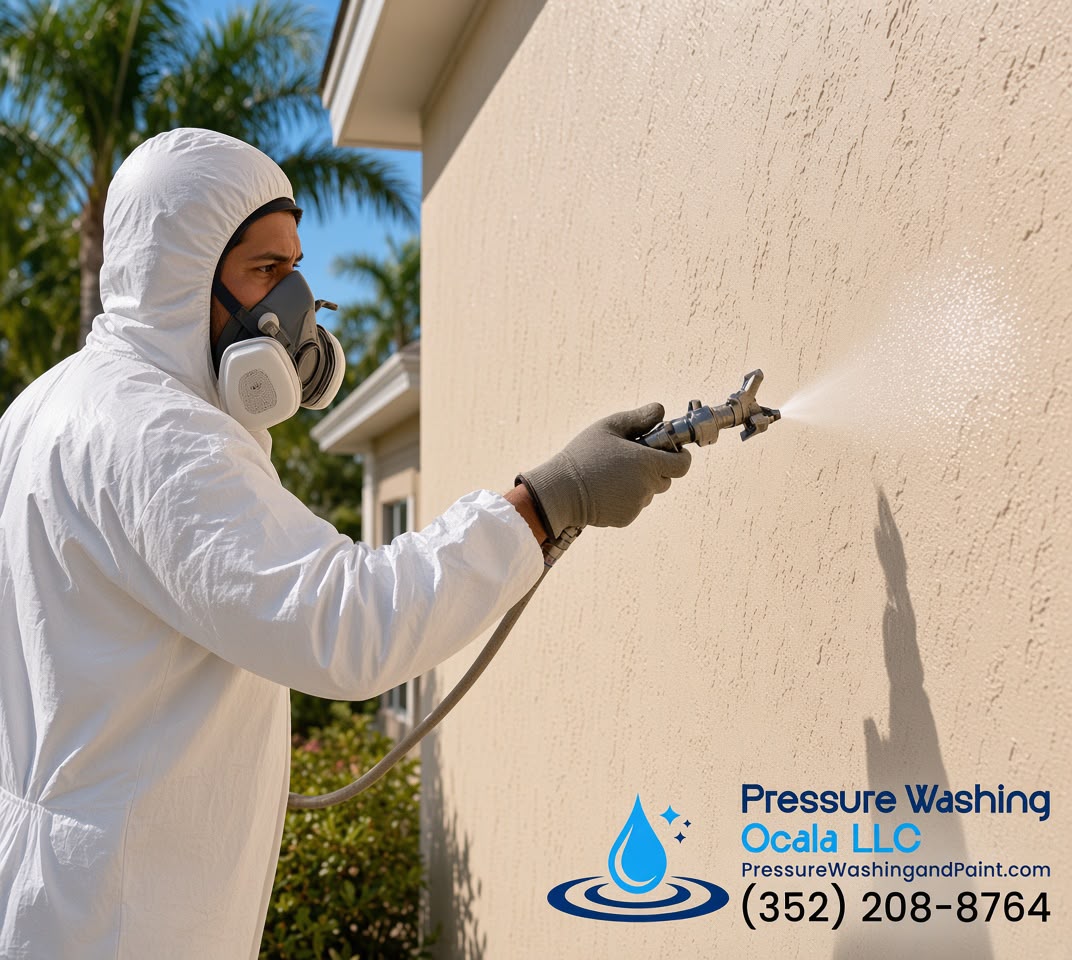
The finish coating is professionally applied using the appropriate equipment and techniques for the surface and project requirements. We focus on even coverage, consistent color, and a smooth appearance while creating a durable exterior finish designed to withstand everyday wear and Florida’s demanding weather conditions.
STEP 9: Trim & Detail Finish
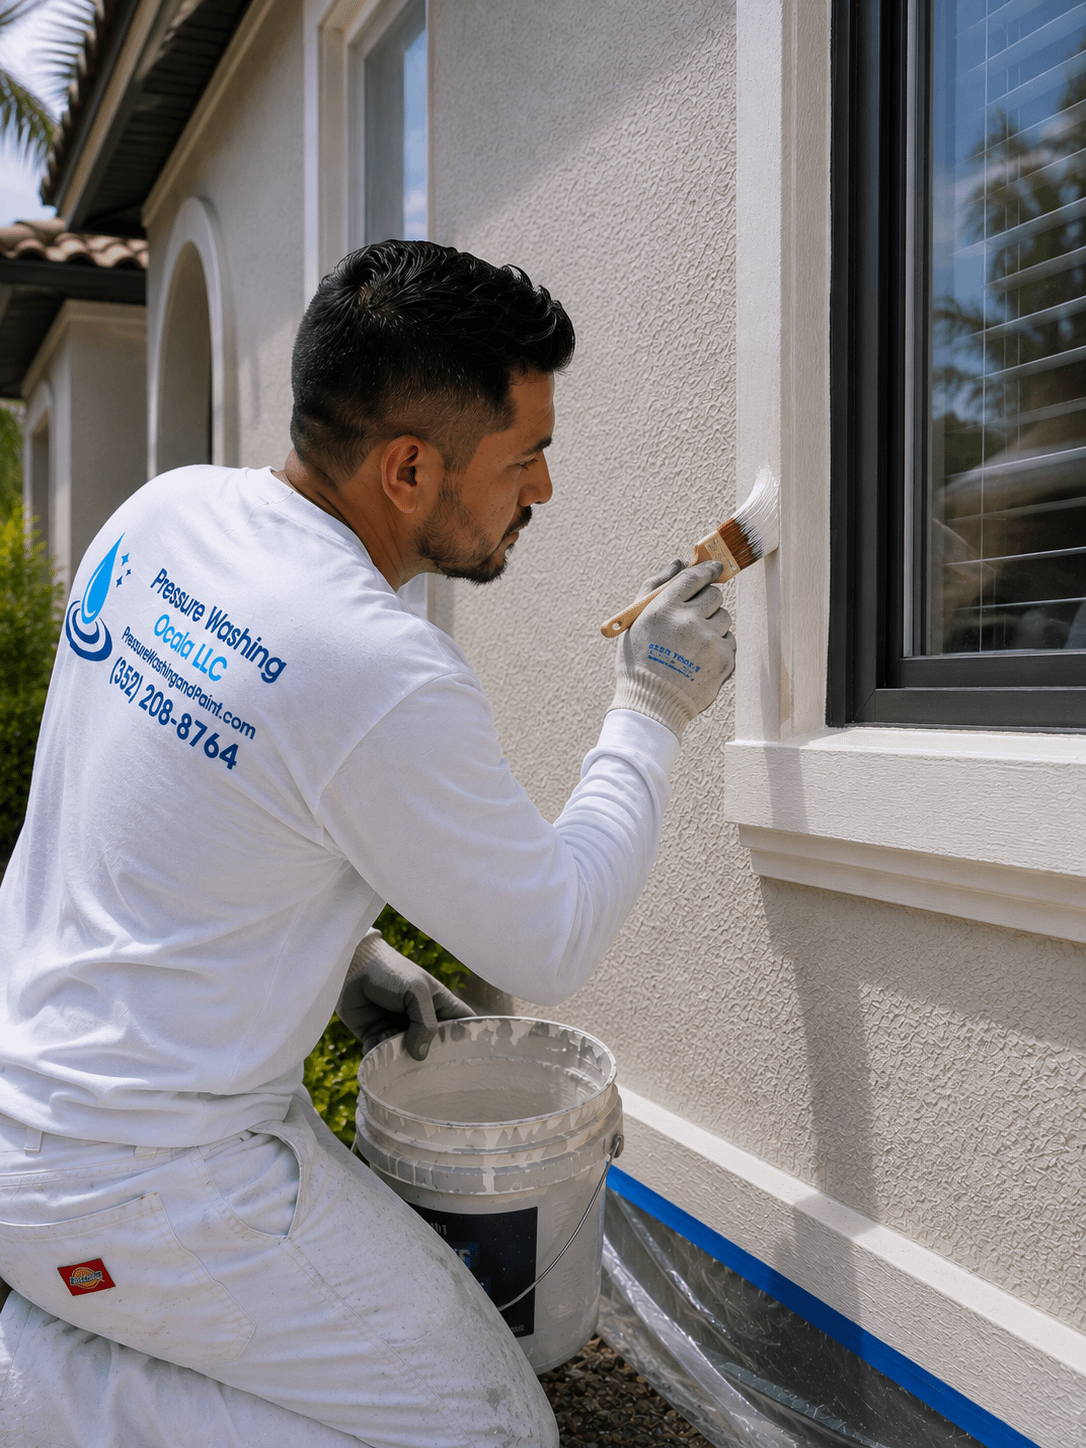
Trim, edges, frames, doors, and other detailed areas receive careful attention to complete the overall appearance of the property. Our painters work precisely around architectural features and accent areas to create clean lines and a polished finish that complements the main exterior color.
STEP 10: Clean & Inspect
Once the painting work is complete, all protective coverings and masking materials are removed and the property is thoroughly cleaned. Our team performs a final inspection to check the finish, coverage, edges, and overall appearance, leaving your residential or commercial property looking clean, refreshed, and professionally finished.